In this blog, we will discuss setting up a robust Continuous Integration (CI) environment for a Rails application. We use Chatwoot, a popular open-source project, as a working example for this article, which guides you through every step so that you can apply it personally to your projects.
Installing the Ruby CI GitHub App
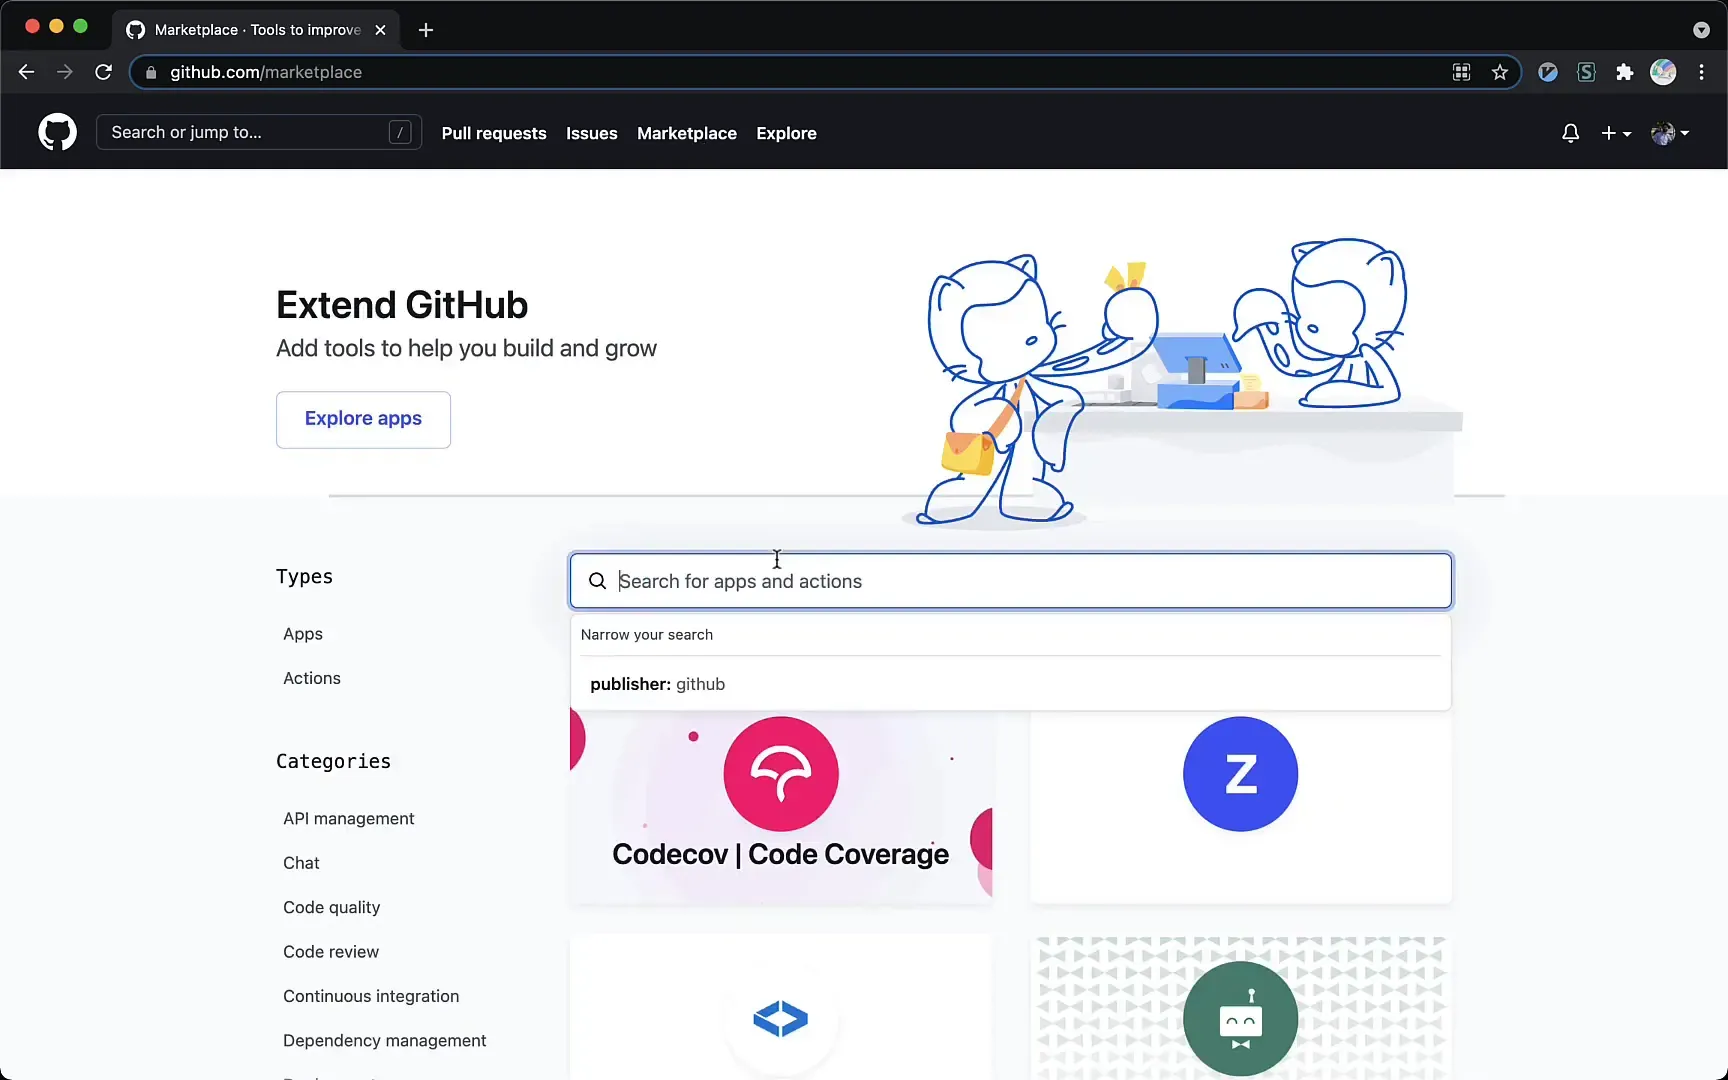
To install the Ruby CI app, all you need to do is search for "Ruby" on GitHub. Click on the first result in the search, and then scroll down to find the option to install it for free.
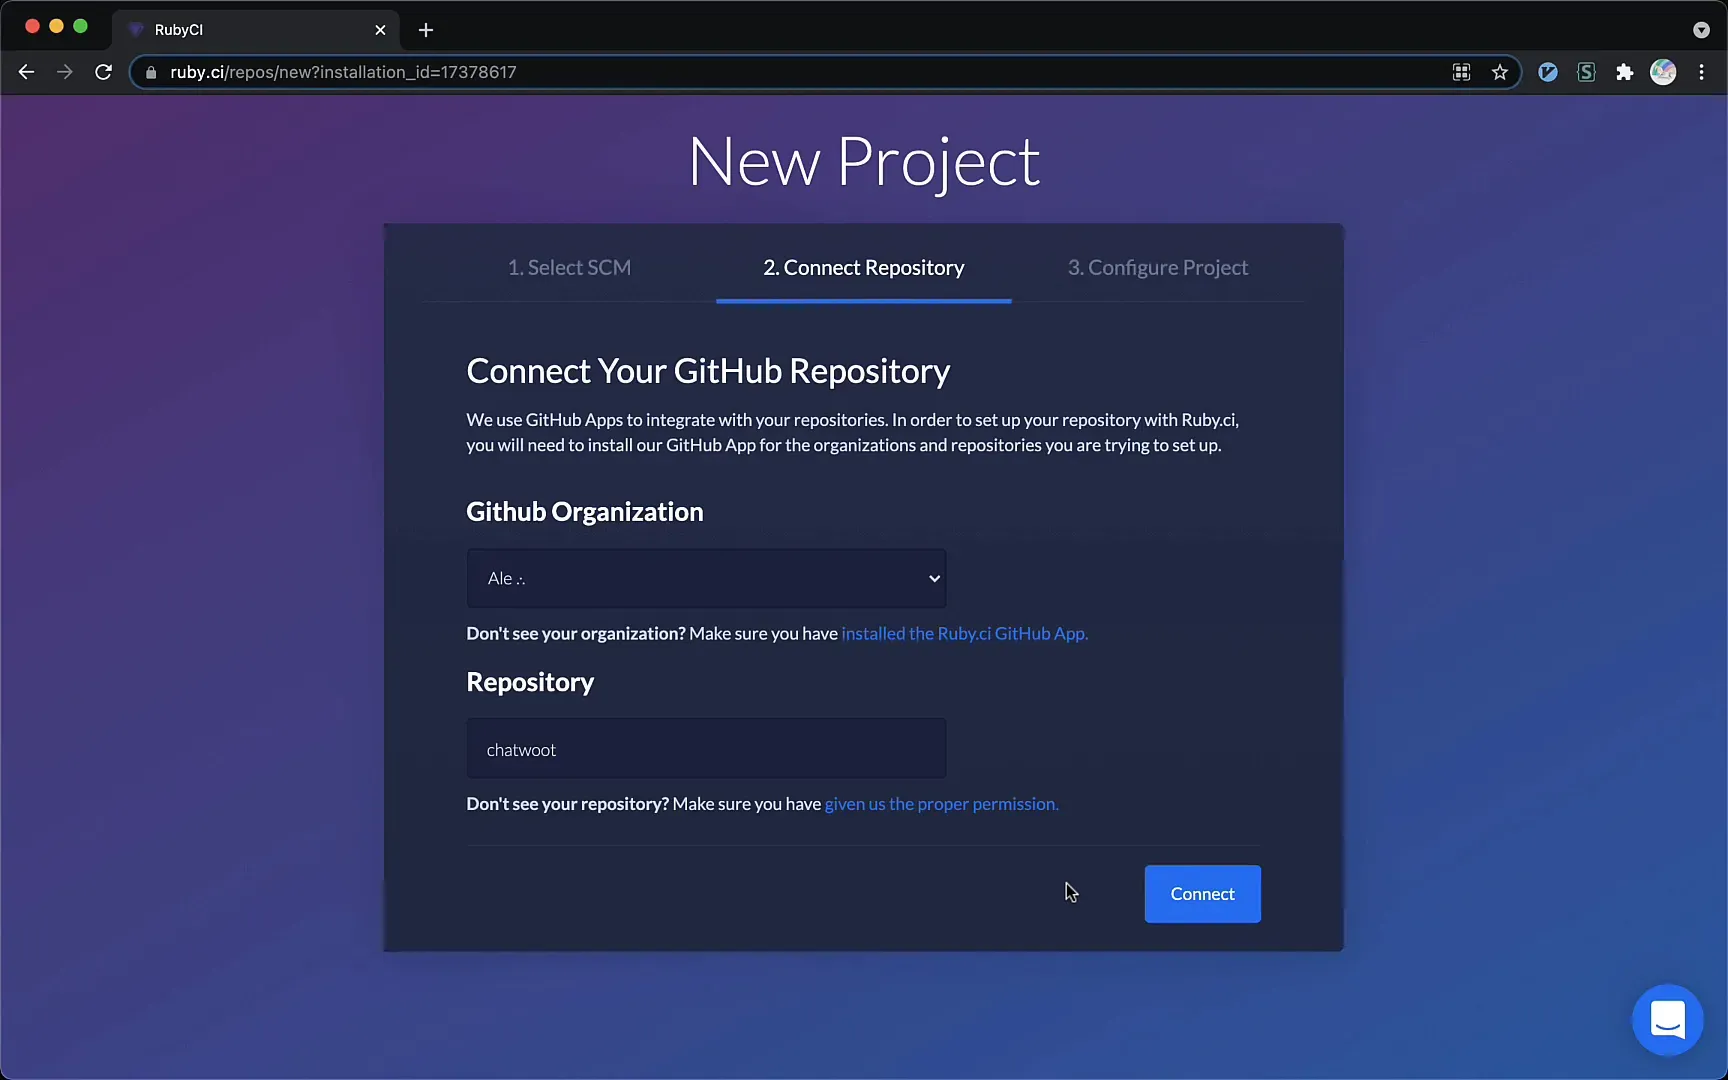
After installing, you will be directed to the Ruby CI interface. Here, select your newly forked project and click on the connect button. This simple action will link your project with the Ruby CI platform.
Setting Up Your Environment Variables
The Ruby CI, unlike most other CI systems, is incredibly easy to set up. One quick walkthrough through project linkage and then environment variables, which are so important as the app coordinates with these in execution and implements the necessary configurations and secrets.
After setting the environment variables correctly, all that's left is to hit the big "Analyze" button. Ruby CI will run the analysis on your project. The information-gathering module checks your project's dependencies, such as Selenium, Elasticsearch, Redis, and PostgreSQL.
Analyzing Your Project
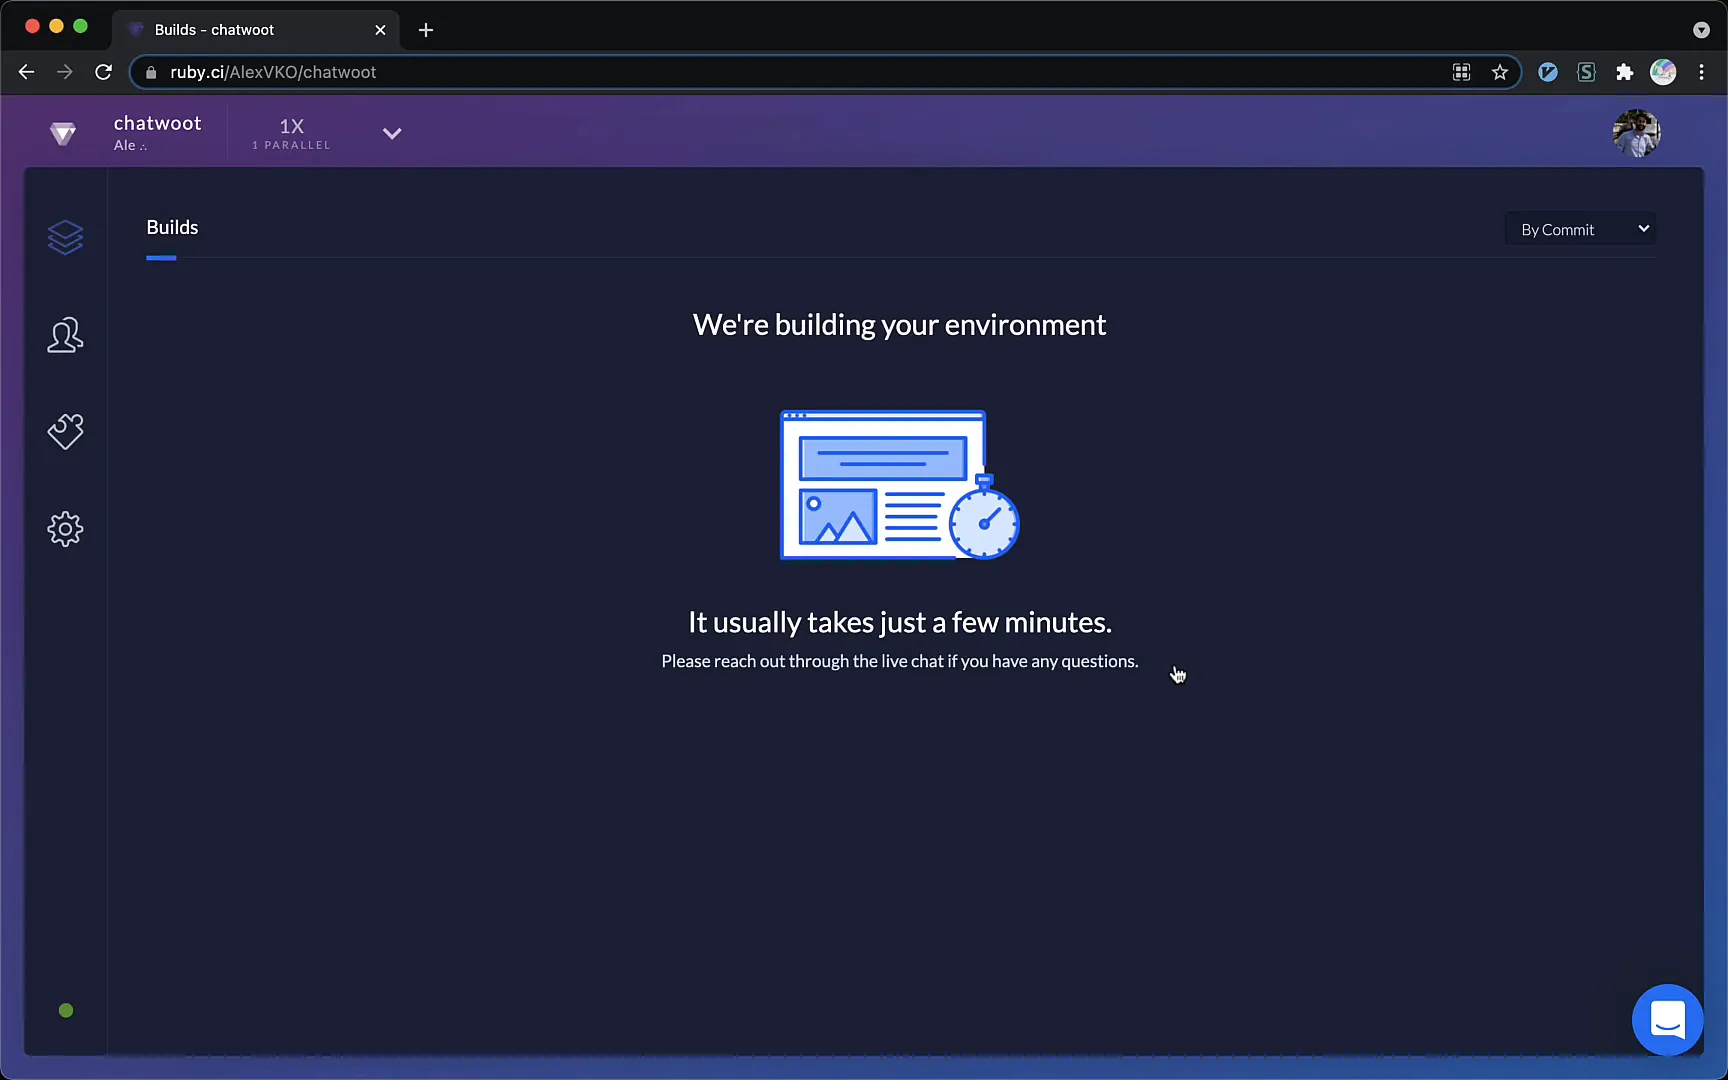
This analysis process may take between 5 to 10 minutes, depending on the complexity of your project. During this time, Ruby CI is working hard to create a custom environment tailored specifically for your project needs.
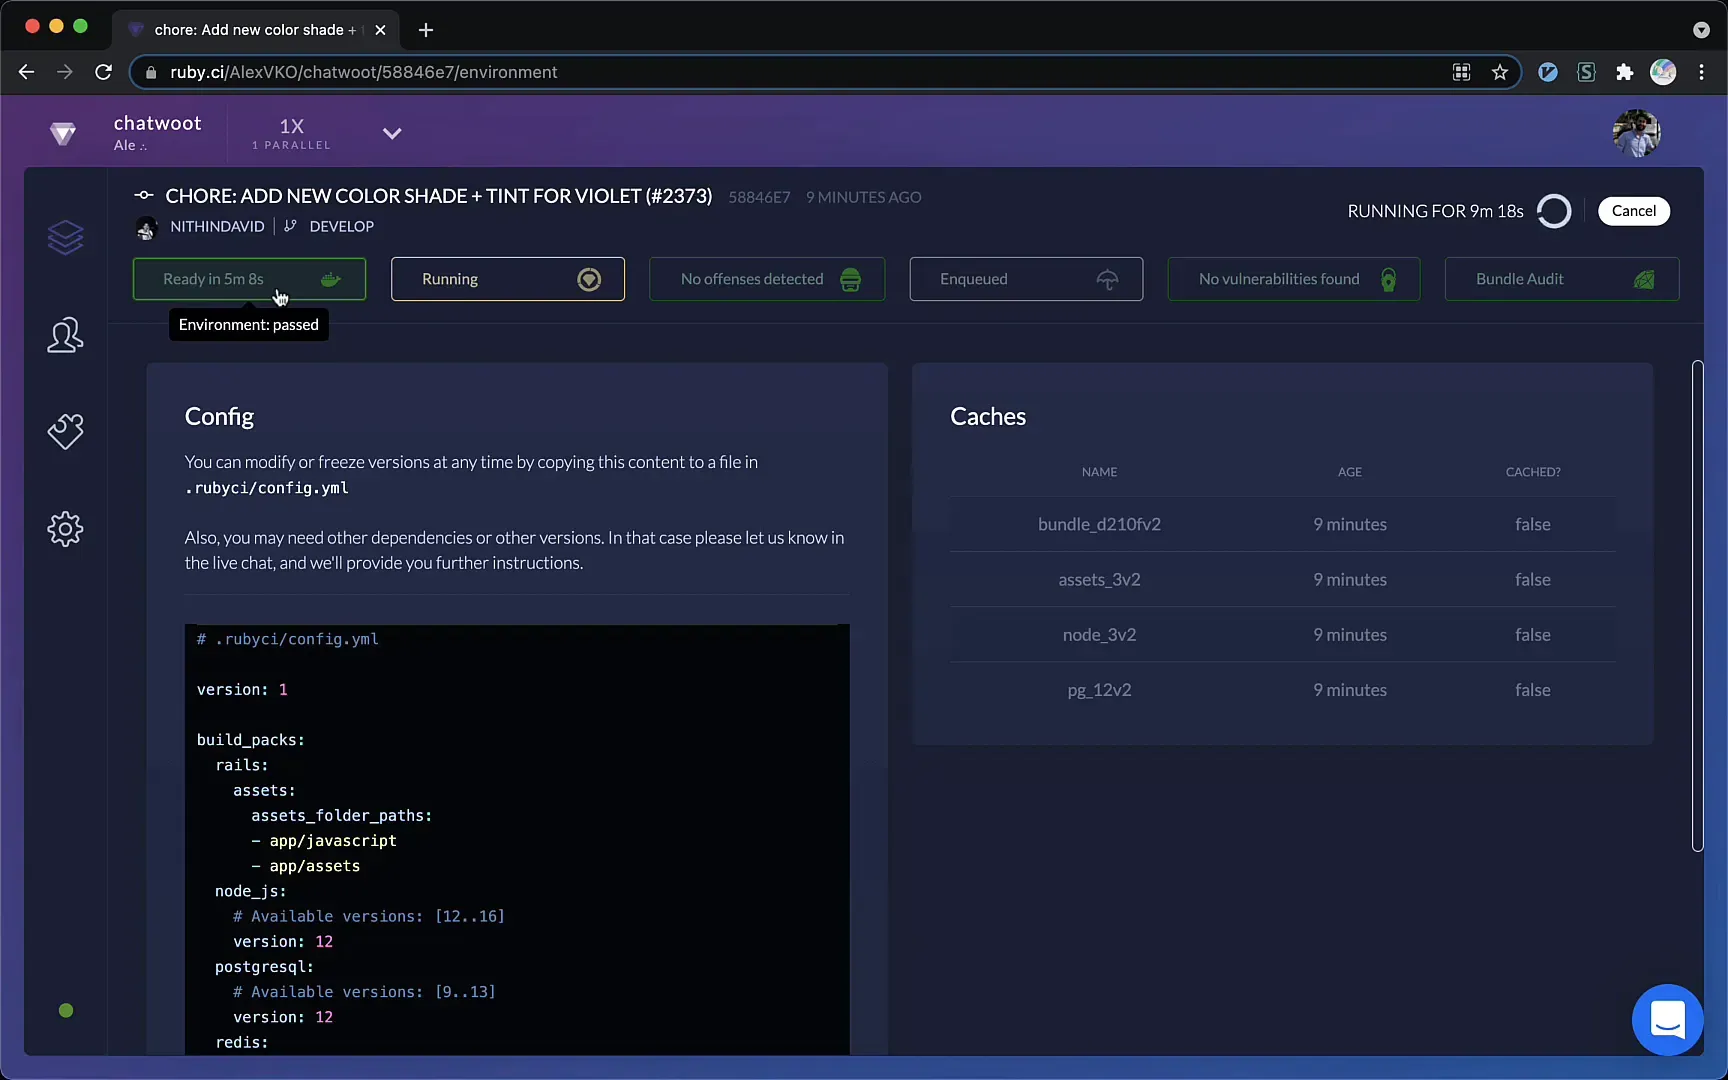
Once the analysis is over, you are then taken to the environments tab, where you can check whether the auto setup was performed successfully. Edit the YAML file generated by Ruby CI if you wish to change some configurations, like the versions, or add particular buildbacks.
Customizing Your YAML Configuration
You can fine-tune the CI environment using the YAML file to increase workability for project requirements. Customizing this file allows you to specify particular versions of dependencies or adjust settings that suit your development workflow.
And that's all for this tutorial! The next installment will bring into focus some glorious features that make Ruby CI a no-brainer choice for your Rails application.
Conclusion
This guide provides a straightforward way to set up Killer CI for your Rails application using Ruby CI. By forking the Chatwoot project and setting up Ruby CI, there is a guarantee of CI and the deployment being well-thought-out for this application
If you want to learn more, stay tuned for the next part, where we will delve deeper into the features of Ruby CI that can enhance your development experience.